Setup - Repository (limited beta)
Note
Fugue’s infrastructure as code (IaC) security features for repository environments are now available in closed beta. Fugue IaC security integrates with Regula to scan code files locally and in CI/CD pipelines. To request access, contact support@fugue.co.
Note
Looking for Azure setup instructions? To get started with Fugue on Microsoft Azure, see Setup - Azure & Azure Government.
Looking for Amazon Web Services instructions? To get started with Fugue on AWS, see Setup - AWS & AWS GovCloud.
Looking for Google setup instructions? To get started with Fugue on Google Cloud Platform, see Setup - Google Cloud.
Ready to create a Fugue environment? An environment contains resources from a single AWS account, Azure subscription, Google project, or code repository – in this case, repository.
A repository environment maps to a single repository containing resources from Infrastructure as Code (IaC) files. Each scan represents a “snapshot” of the entire repository.
Fugue supports scanning the following types of IaC:
Terraform HCL
AWS CloudFormation templates
Kubernetes YAML manifest files
Tip
In a hurry? For an even quicker setup guide, see Get Started in 5 Minutes.
To learn more about the basics of using Fugue, see Fugue 101.
Sign Up for Fugue
Before you can create an environment, you’ll need to sign up for a free account with Fugue. (You’ll start off with a free Enterprise trial, which gives you access to all of Fugue’s features; after 30 days, you’ll be transitioned to the free-forever Developer plan if you choose not to upgrade.)
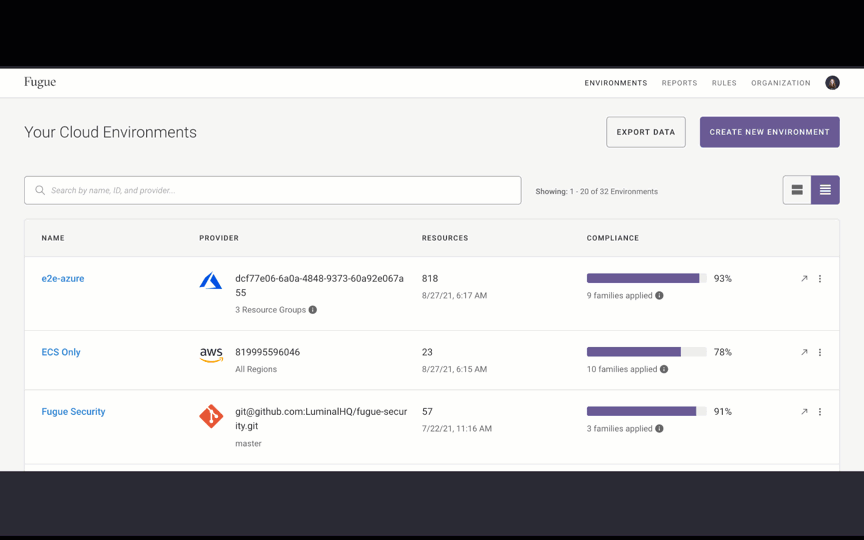
Once you’re all signed up and logged in, select the Define New Environment button:

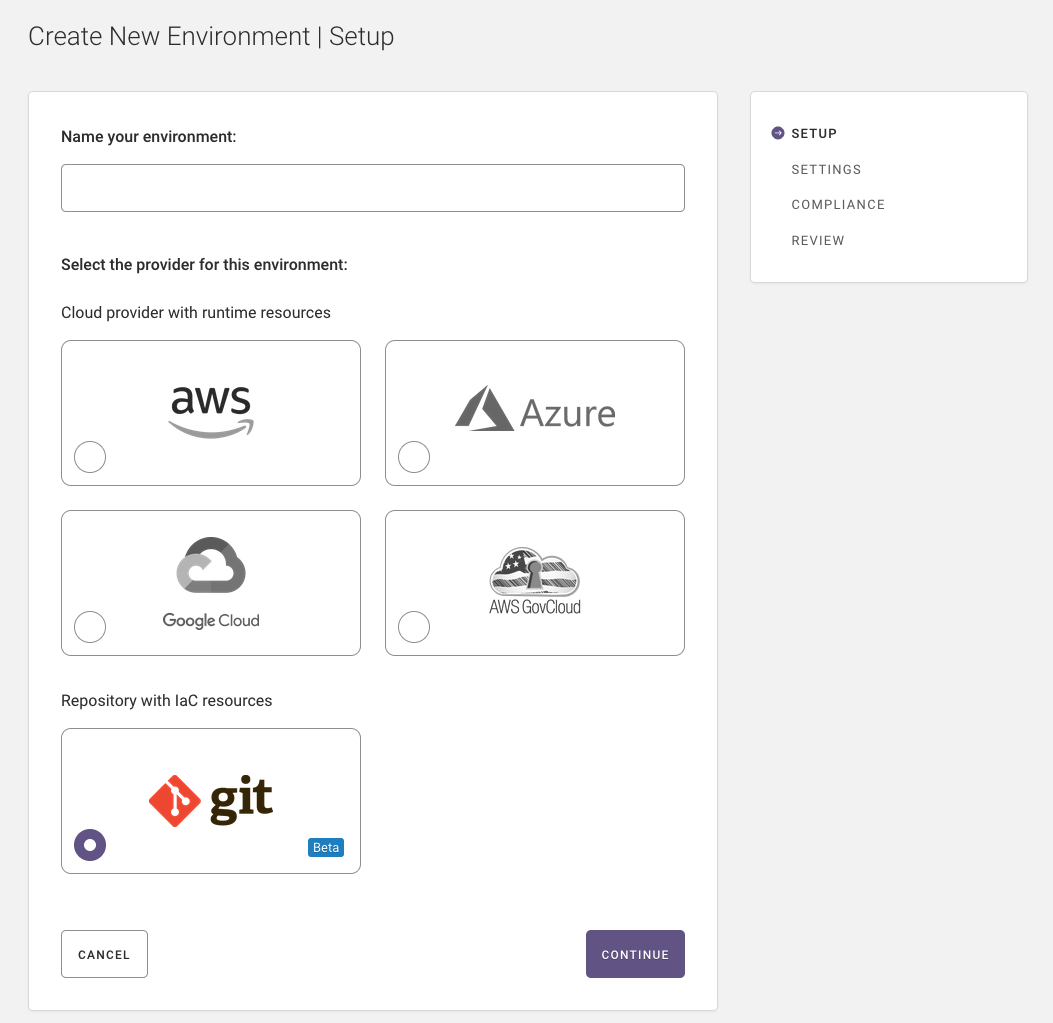
Step 1: Setup (Name, Provider)
In the first step of creating an environment, you name it and specify your provider – cloud or repository.
Name your environment.
Select Git as the provider.
Select Continue.
Step 2: Settings
Note
If at any point you want to change something, you can select “Back” at the bottom of the page to return to the previous step, or “Edit” in the sidebar next to the desired step to return to that step.
Enter the Repository URL.
Enter the name of the branch you want to evaluate (e.g., main, develop, etc.)
Select Continue.

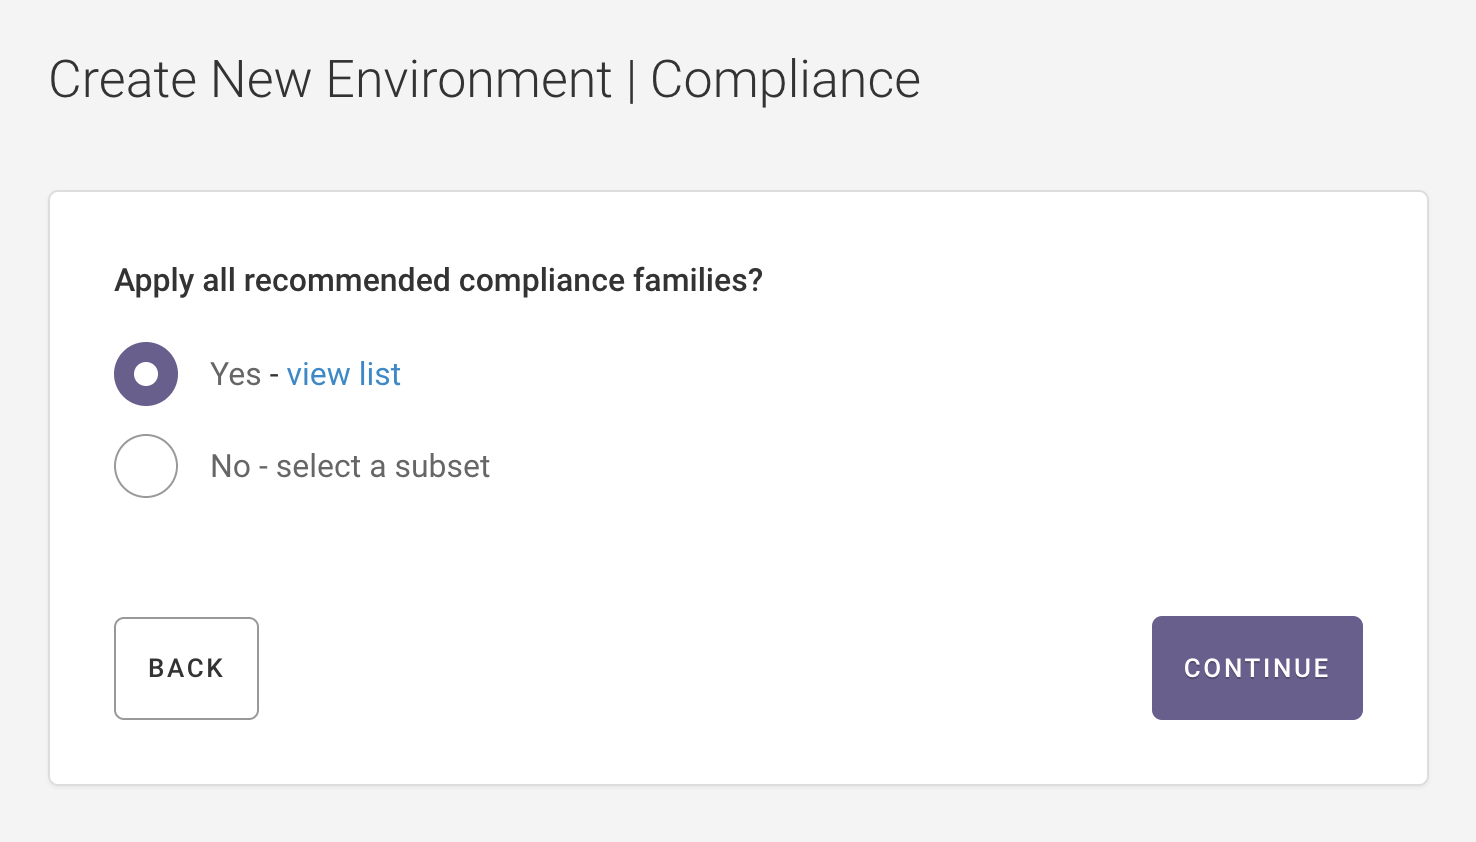
Step 3: Compliance
If you’d like Fugue to evaluate your infrastructure configuration for all compliance standards, ensure “Yes” is selected.
If you’d prefer to select the compliance families yourself, click No - select a subset.
Fugue supports the following compliance families for repository environments:
AWS Well-Architected Framework
CIS AWS Foundations Benchmark
CIS Azure Foundations Benchmark
CIS Controls
CIS Docker Benchmark
CIS Google Foundations Benchmark
CIS Kubernetes (limited beta: Only supported for Repository environments)
CSA Cloud Controls Matrix
Fugue Best Practices
GDPR
HIPAA
ISO 27001
NIST 800-53
PCI DSS
SOC 2
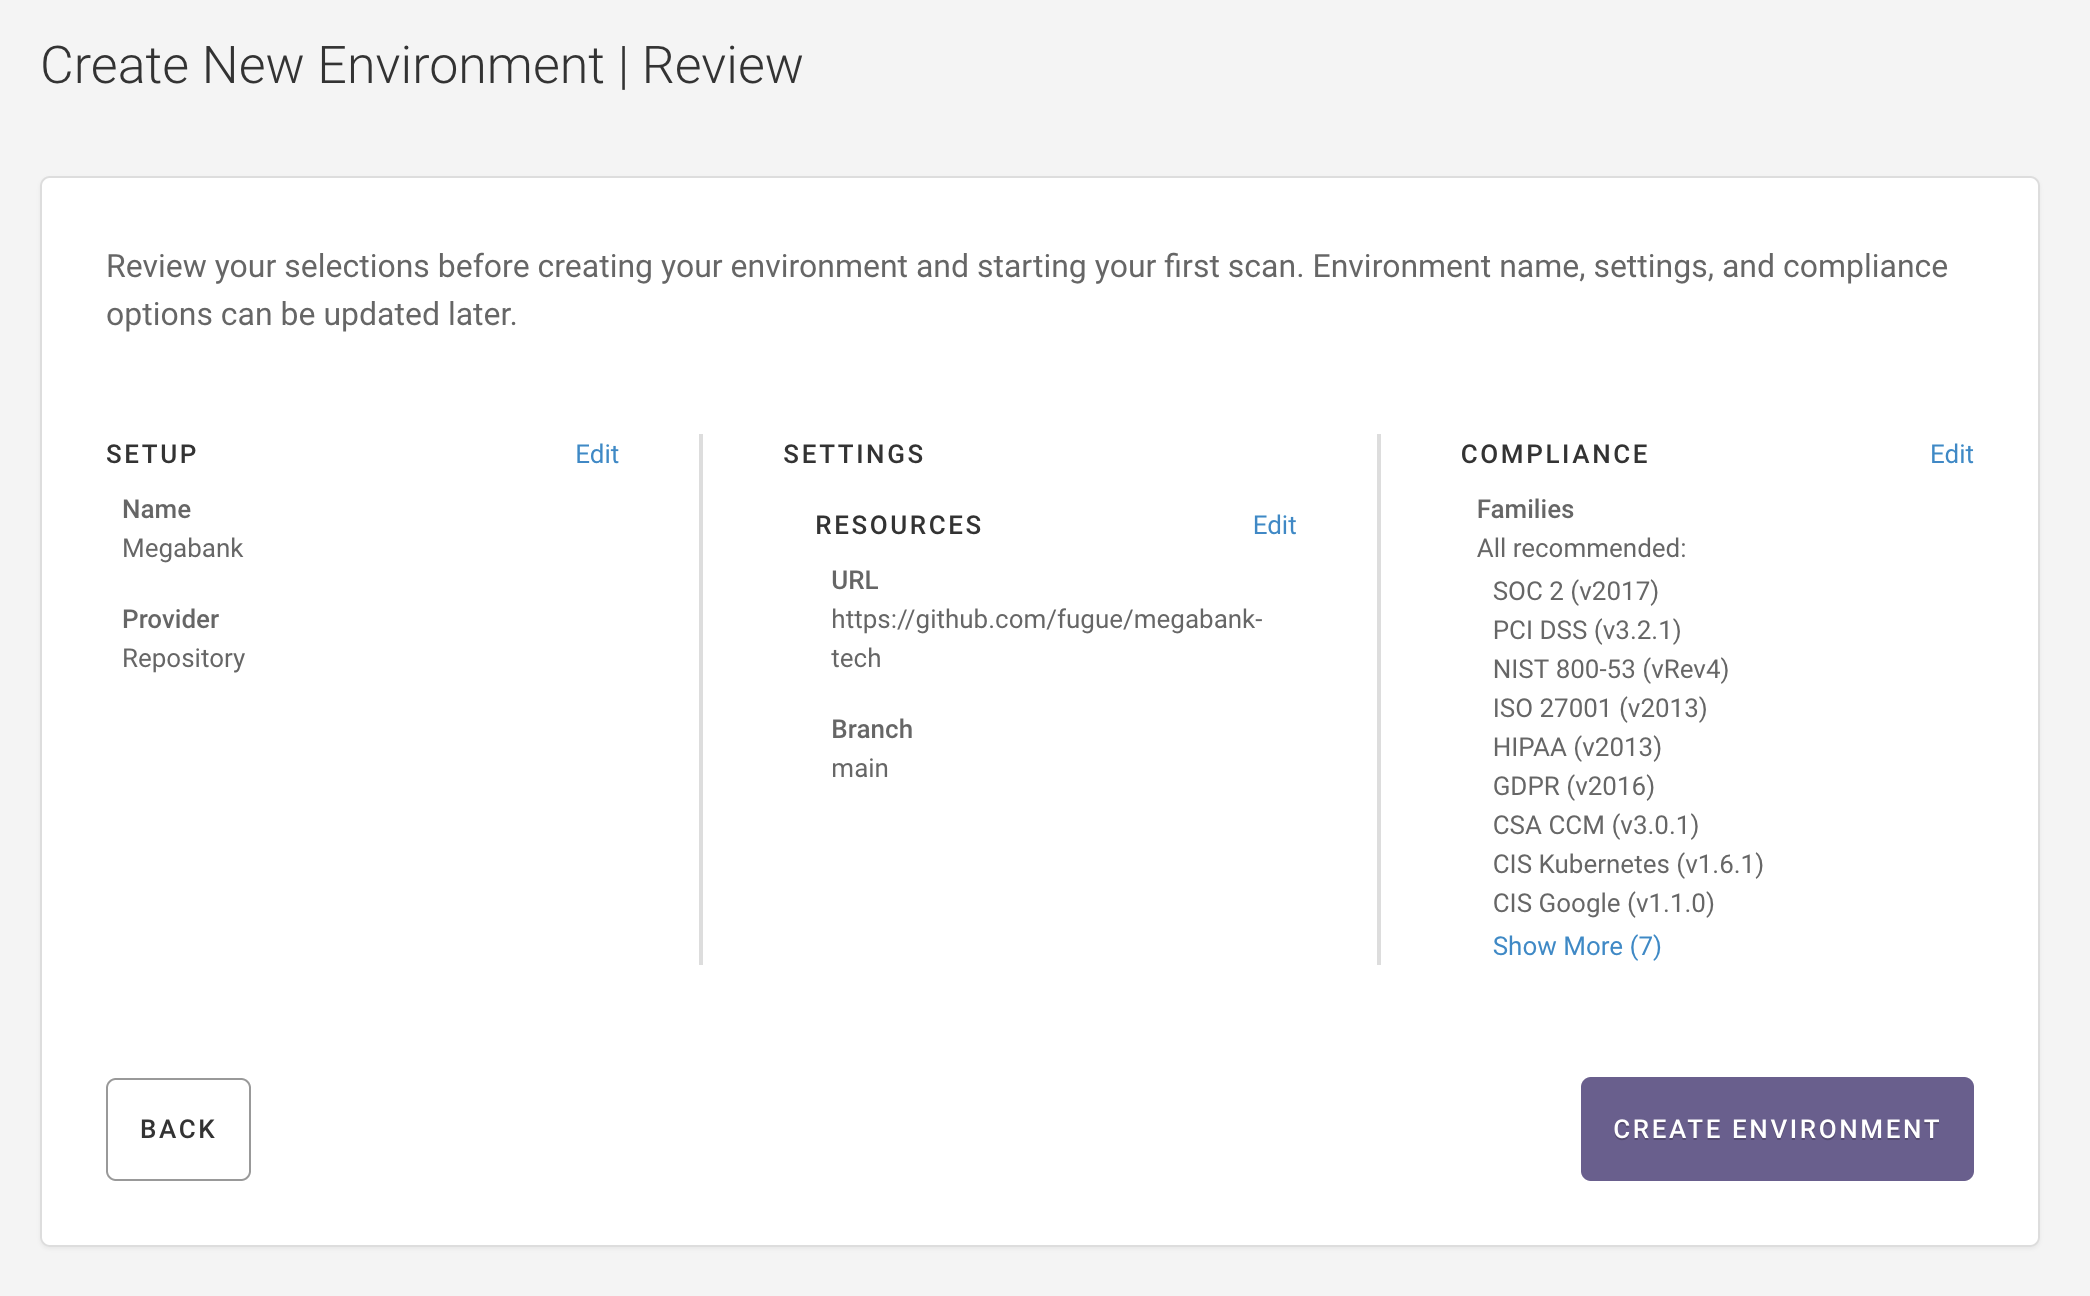
Step 4: Review
Review the details for your environment, including environment name, URL, branch name, and compliance families.
If anything needs to be changed, click Edit next to the appropriate step.
If everything looks good, select the Create Environment button. Your environment is successfully created and you need to manually kick off a scan to see how your repository looks. See Step 5: Kicking off a Scan for more information.
Step 5: Kicking off a Scan
After creating your repository environment, kick off a scan to evaluate your repository.
Download and install Regula, if you haven’t already.
Run the following command to set your
FUGUE_API_IDandFUGUE_API_SECRETas environment variables and replace[FUGUE_API_ID]and[FUGUE_API_SECRET]with your Fugue API ID and Secret:Follow steps 1-4 in the Fugue docs to create a Client ID and Secret.
export FUGUE_API_ID=[YOUR_FUGUE_API_ID]
export FUGUE_API_SECRET=[YOUR_FUGUE_API_SECRET]
3. cd into your local repository and switch to the branch you specified when you created the environment.
4. Run the following command to create a Regula configuration file and replace [environment_id] with your environment ID:
regula init --environment-id [environment_id]
5. Run the following command to kick off a scan:
regula run --sync --upload
Note
Users running Regula v1.6.0 or earlier should execute regula scan or upgrade to Regula v2.0.0 or later.
Congratulations! You’ve just kicked off a scan for your repository environment with Fugue.
Note
If you want to kick off a scan for a repository environment, you must follow the steps outlined above. Using the CLI command fugue scan [environment_id] or hitting the /scans endpoint via the API will not trigger a scan for a repository environment.