User Management
Note
For information about managing users with RBAC, see Role-Based Access Control (RBAC).
For information about using single sign-on with Fugue, see Single Sign-on (SSO).
For information about using MFA with Fugue, see Multi-Factor Authentication (MFA).
Fugue allows you to invite other parties in your tenant to access and collaborate on the same Fugue environments. Invited users have the ability to view, add, edit, and remove selected environments, as well as invite and remove other users, depending on the role-based access control policy they are assigned. Additionally, privileged users can see who else has been invited and whether they have activated their account.
When you invite a user to Fugue, you assign that user to one or more RBAC group(s). The user receives an email invitation to create a new Fugue user account. Once they create a user account, they can view and/or manage the environments associated with their RBAC group(s). (See this note for information about how permissions are handled when a user belongs to multiple groups.)
The first user to register a tenant account is the account owner. Invited users have the same permissions as the account owner, except the account owner cannot be deleted. To make a different user the account owner, contact support@fugue.co. Additionally, logged-in users cannot remove their own account.
Before you can set up multiple users, you’ll need to sign up with Fugue and set up an environment for your tenant if you haven’t done so already. (See Setup - AWS & AWS GovCloud, Setup - Azure & Azure Government, and Setup - Google Cloud.)
Note
The tenant name is the name entered during signup and currently it cannot be changed.
User Setup
The Users Page
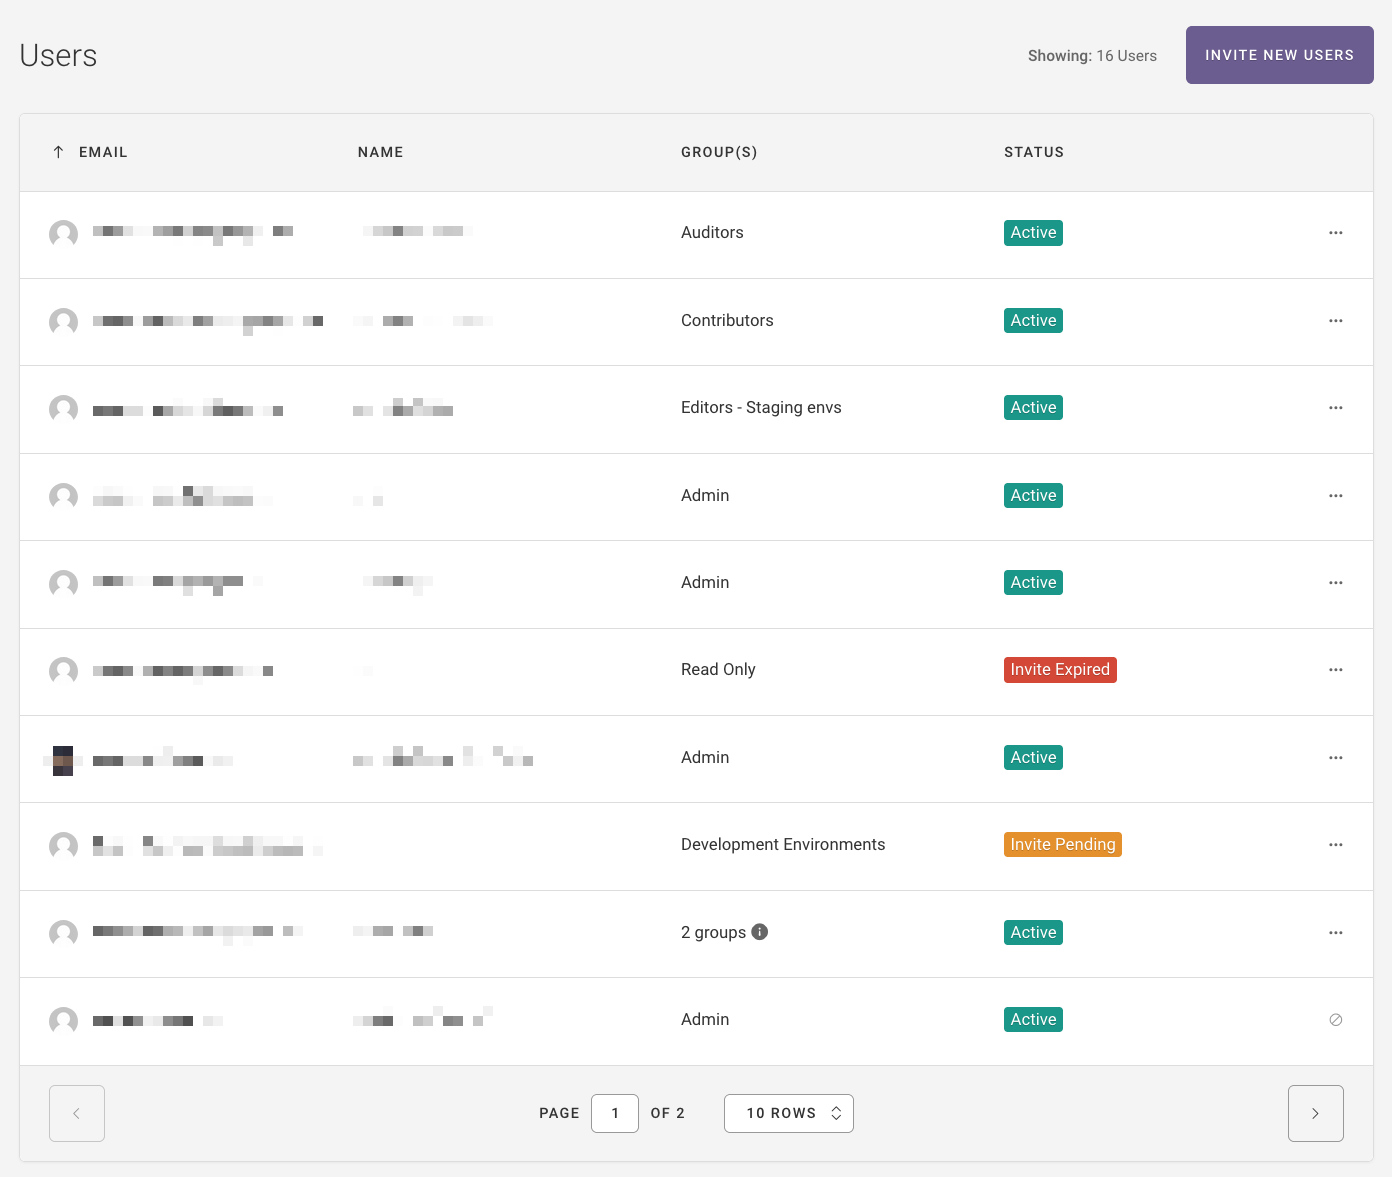
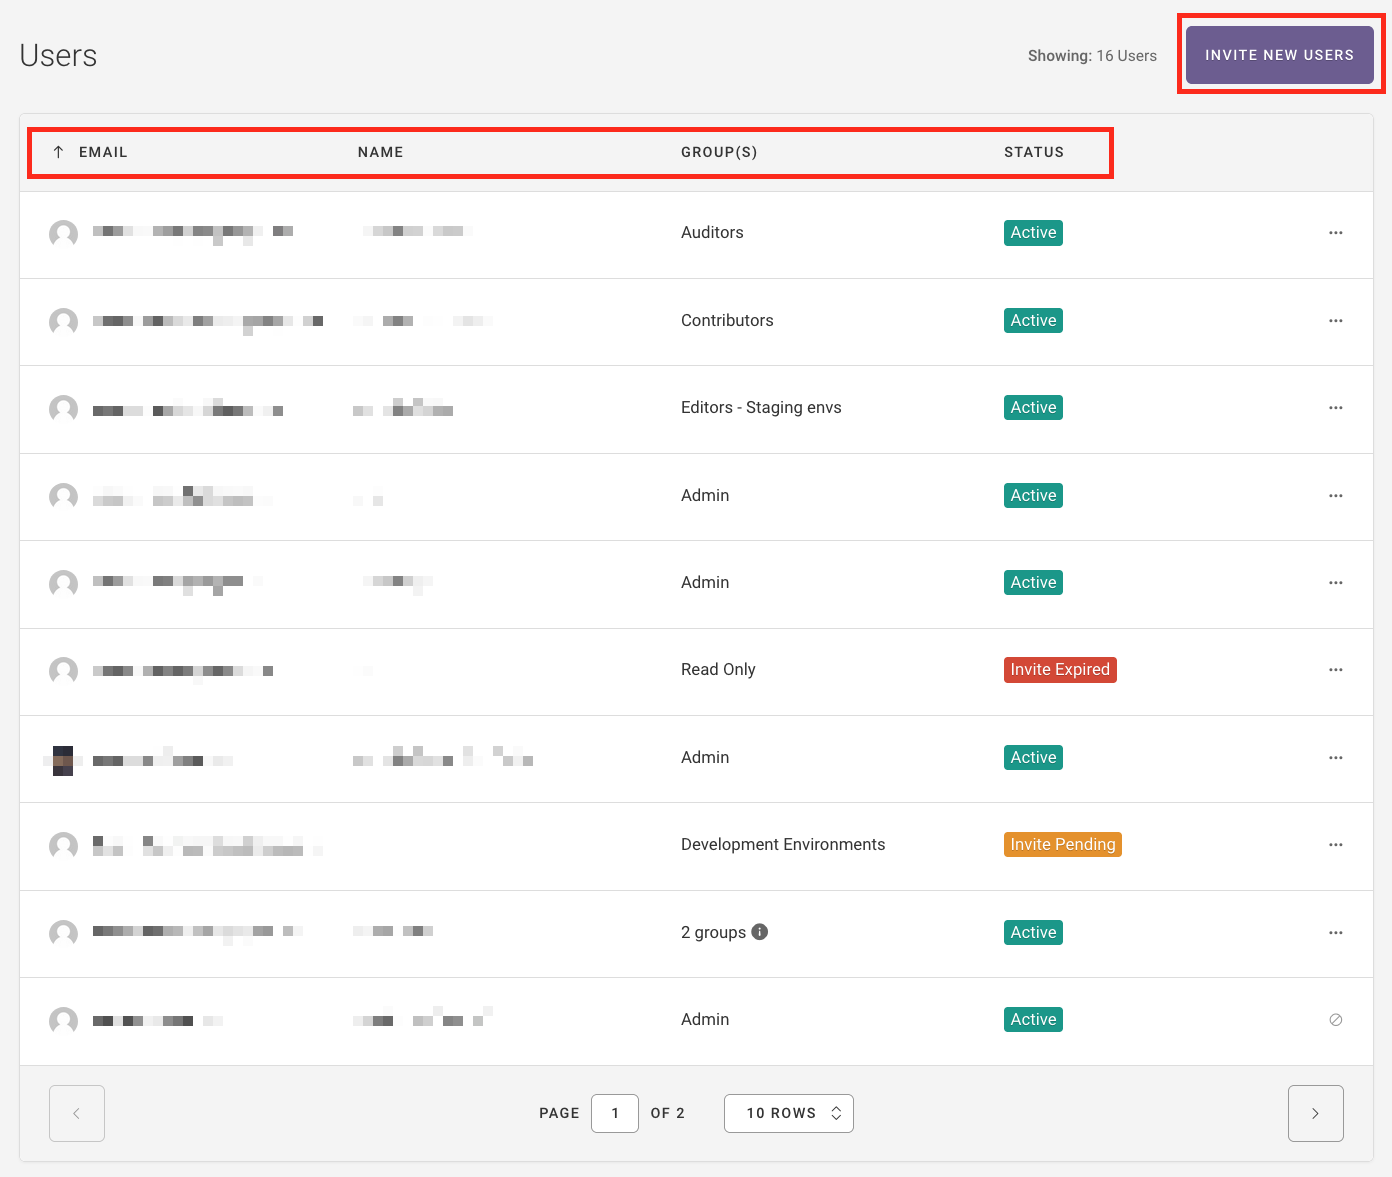
You can access the Users page by selecting the Settings link in the top right corner of the UI, then selecting Users.
On the Users page, you can see a list of users in your tenant along with their RBAC groups and statuses. You can also invite new users through the Invite New Users button.
Status:
- Active
Account has been activated.
- Invite Pending
Invite has been sent, but the account has not yet been activated.
- Invite Expired
Invite was sent, but the account was not activated in time or someone manually expired the invite. Invites expire after one week.
You can sort by email address. Default is alphabetical order. Select the arrow next to the Email header to reverse direction:
If you have more than 10 users, you’ll see a dropdown menu below the table of users. You can choose to show 10, 20, 50, or 100 rows per page:

To Invite Another User
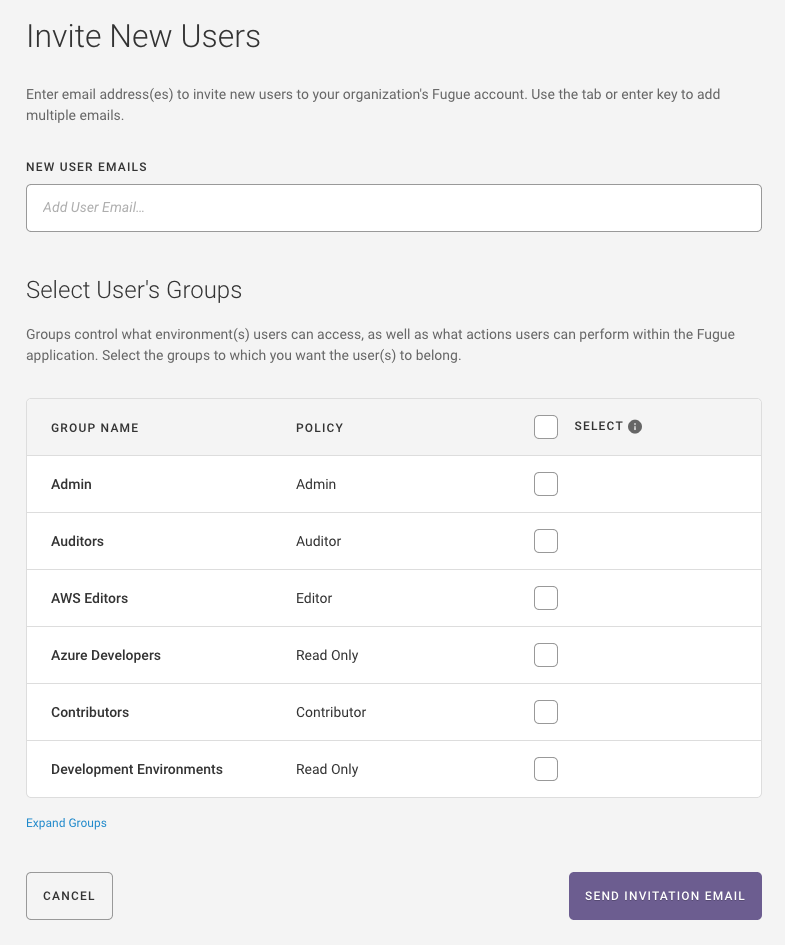
To invite a new user, select the Invite New Users button and enter the email address of the user you want to invite.
Press Tab to add additional email addresses if needed and press Delete to delete an address.
Next, select one or more RBAC groups the user should belong to. The user will have the combined permissions from all of the selected groups. See this note for more info about how permissions are handled when a user belongs to multiple groups.
Then, select Send Invitation Email.
To Re-send or Cancel an Invite
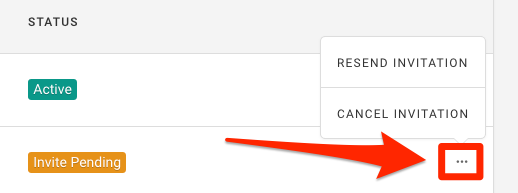
To resend or cancel an invite for a user with the status Invite Pending, select the ellipsis icon ... and choose Resend Invitation or Cancel Invitation.
Invites remain valid for one week. Resending an invite restarts the one-week period.
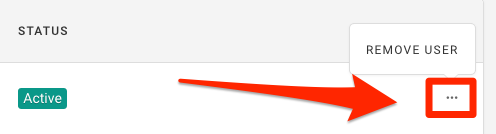
To Remove a User
To remove a user with the status Active, select the ellipsis icon ... and choose Remove User. You’ll be prompted to confirm removal. Note that you cannot delete the account owner or your own account.
Note
By removing a user from your tenant’s Fugue account, you are revoking their access to sign in, create, view, and edit any environments in your account.
To Create a User Profile
When a user invites you to their tenant, you receive the following email:
Hello, {user’s email} invited you to join their tenant on the Fugue Platform. Please create a new user profile in order to begin. We’re excited for you to get started. Should you have any questions or need assistance, please feel free to contact us at support@fugue.co.
Follow the Create User Profile button in the email to create your user account. You’ll see the following form:
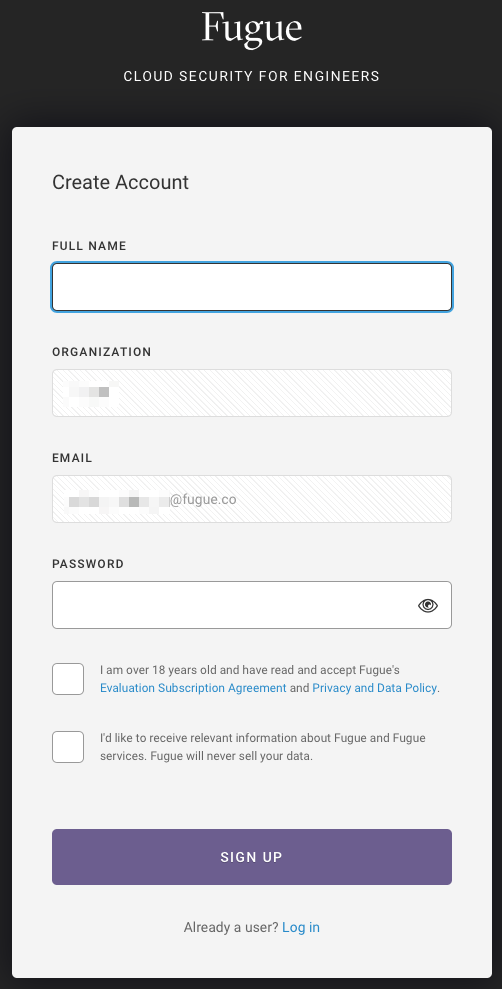
Enter your full name and create a password. The password must be at least 8 characters. Select the eye icon to display the password.
Tenant name and email address are automatically filled in and cannot be changed.
You must read and check the box to accept the Evaluation Subscription Agreement and Privacy and Data Policy before continuing.
Select the box to receive relevant information about Fugue and Fugue services, if desired.
After you select the Sign Up button, you’ll see a message asking you to confirm your email address:
An email has been sent to {email}. Please check your inbox and follow the provided instructions to activate your {tenant name} Fugue account.
You also have the option of re-sending the email if you did not receive it. The email says the following:
Hello, Welcome to the Fugue community! Please activate your account. We’re excited for you to get started. Should you have any questions or need assistance, please feel free to contact us at support@fugue.co.
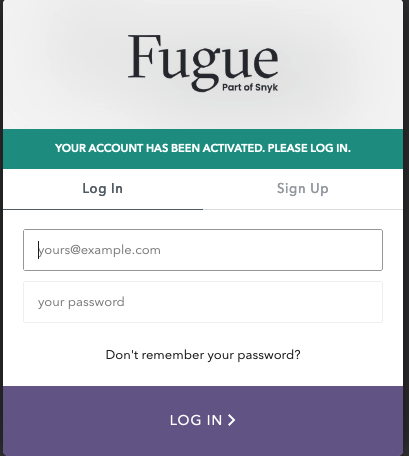
After you select the Activate Account button, you’ll see the login page for Fugue with a message saying “Your account has been activated. Please log in.”
Once you log in, you’ll have access to all your group’s environments and permissions.
Users Belonging to Multiple Tenants
Users can belong to multiple tenants if Fugue Organizations is enabled. This is an enterprise feature. Reach out to support@fugue.co for more information.
Single Sign-on (SSO)
Note
To enable SSO for your tenant, reach out to support@fugue.co. SSO is a paid plans feature.
Fugue supports single sign-on (SSO), which allows tenants to manage users through an identity provider (IdP) such as Okta or G Suite. Users can then log into Fugue using existing credentials through their IdP, rather than needing to remember another username and password.
SSO: Logging In
When a non-SSO user accesses the login page, they see the following form:
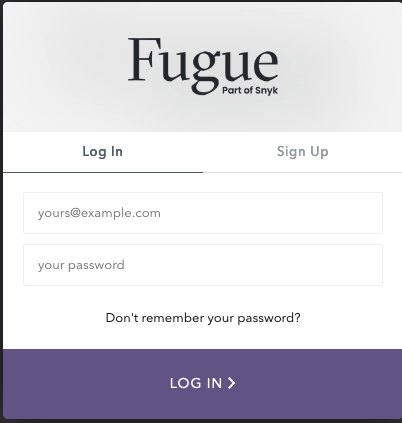
The user enters their username and password to log in.
However, when a user in an SSO-enabled tenant enters their email address on Fugue’s login page, the form displays “Single Sign-on Enabled” and the password field disappears:
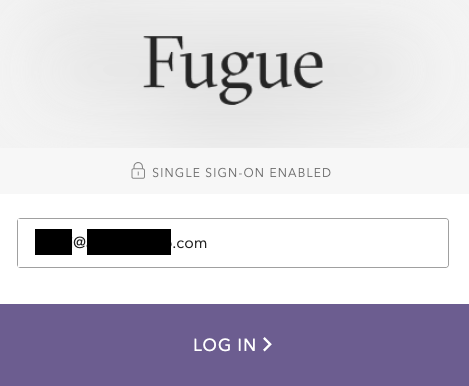
After selecting “Log In,” the user is directed to their tenant’s IdP authentication flow. For example, if the tenant uses Google G Suite, the user will be directed to Google G Suite’s login page.
If the user is already signed into their IdP, they will bypass the IdP login page and be immediately directed to the Fugue UI.
Note
Once SSO is enabled for a tenant, users must log in through SSO. They will be unable to log in using a Fugue username and password, unless they are the tenant account owner.
In an SSO-enabled tenant, the account owner has the option to log in via SSO or via Fugue username and password.
For tenants that use Okta, users can log into the Fugue application using an Okta tile.
SSO: Inviting Users
Inviter Workflow
For the user who is sending the invitation, the process for inviting a user to an SSO-enabled tenant is the same as inviting a user to a non-SSO-enabled tenant.
Invitee Workflow
Users must be invited to Fugue and accept the invite before they can use Fugue, even if their tenant has enabled SSO.
If an SSO-enabled user has not signed up for Fugue and tries to log in using SSO, the login form displays “Single Sign-on Enabled” and the user is directed to their IdP authentication flow. However, after logging into the IdP, the user is shown an error message:
Unauthorized
You are not authorized to access Fugue within your tenant. Please contact your tenant’s administrator for assistance.
Please reach out to support@fugue.co if you have any additional questions.

To proceed, a tenant admin must invite the user to Fugue. The user can then register and sign into Fugue using SSO.
Multi-Factor Authentication (MFA)
Note
To enable MFA for your tenant, reach out to support@fugue.co.
Fugue allows tenants to enable multi-factor authentication (MFA), which requires users to enter a one-time password (OTP) after authenticating with their username and password at login.
Initial Login
When you log in for the first time after MFA is enabled, you’re prompted to scan a QR code using an authenticator app of your choice such as Authy, Google Authenticator, Auth0 Guardian, or Microsoft Authenticator:
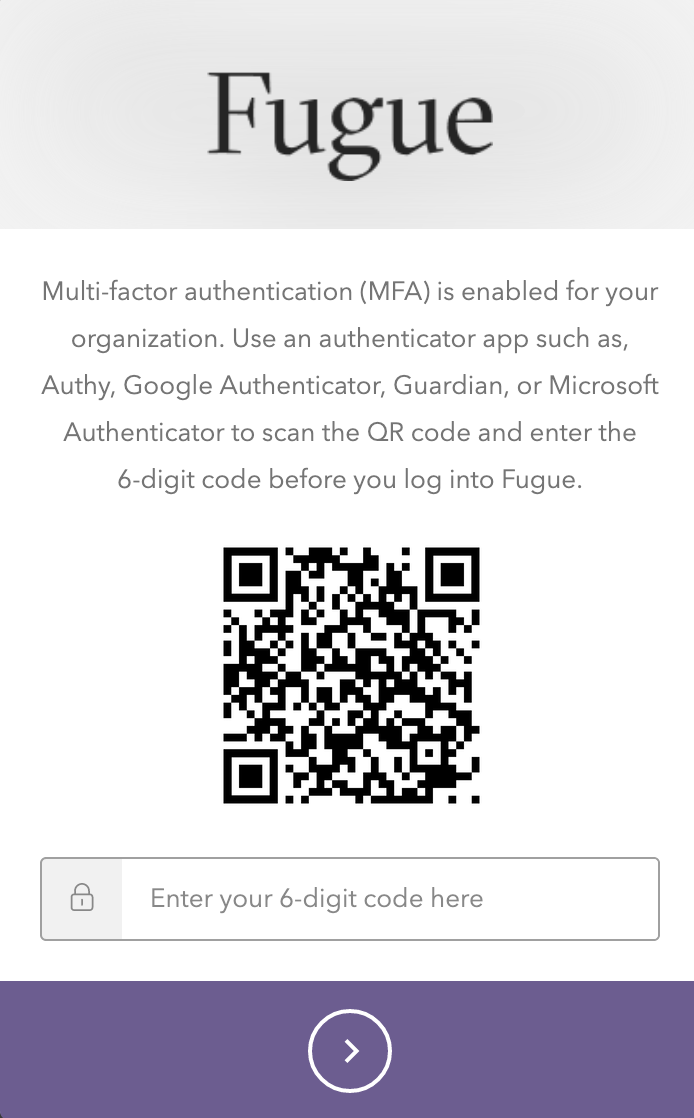
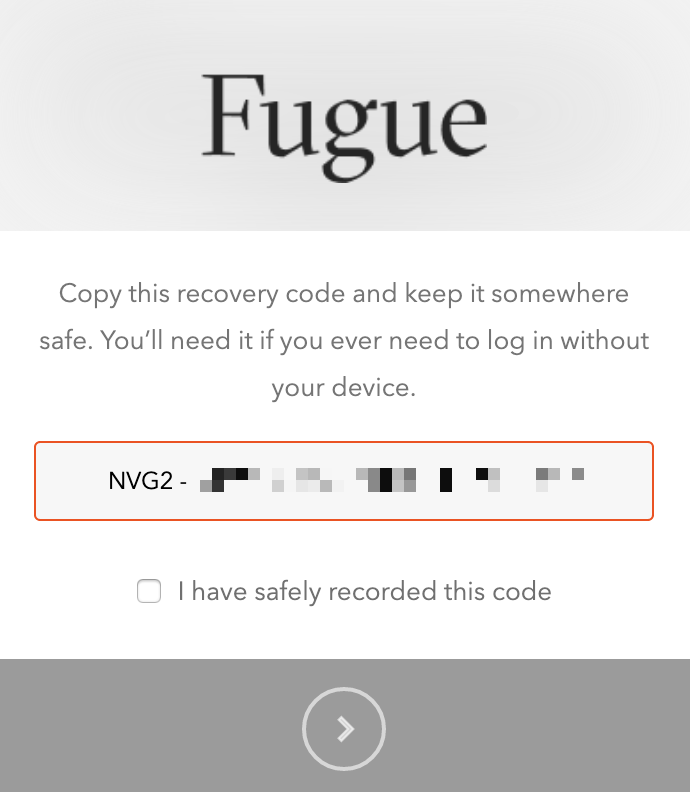
Enter the 6-digit code provided by the authenticator. Next, Fugue generates a recovery code. (Make sure to save the code somewhere safe!) This code enables you to log in if you don’t have access to the authenticator app or device:
Fugue asks you to confirm that you saved the code before proceeding to log you in. You’ll see a message that Fugue has verified your identity:
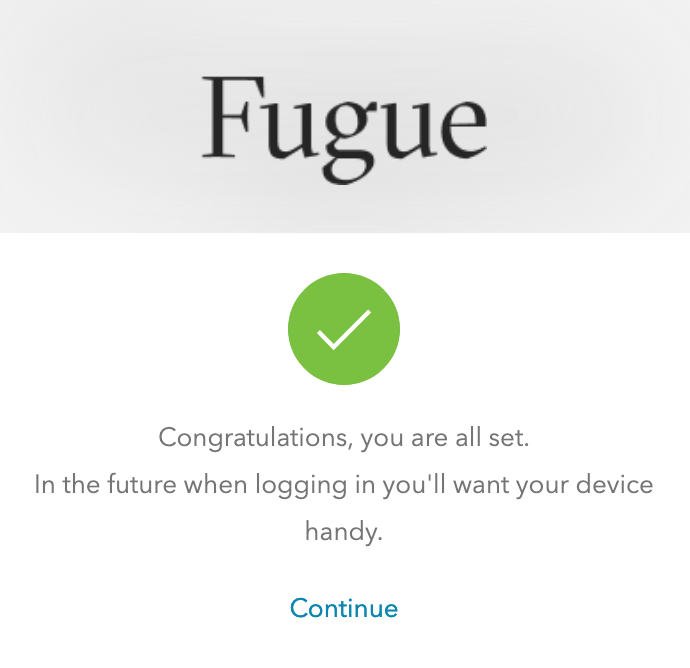
You’re then redirected to the Fugue UI.
Subsequent Logins
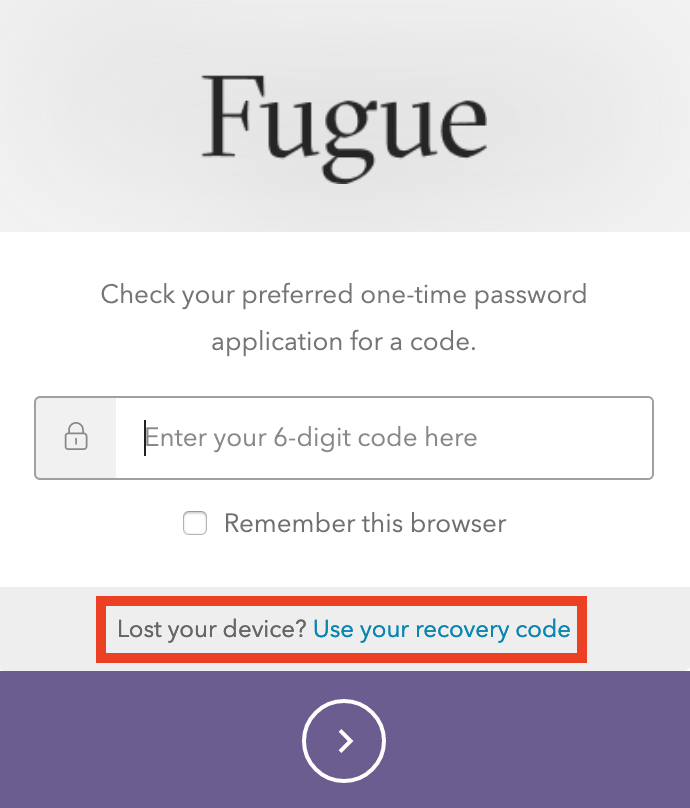
Next time you log in, you’ll be asked to enter a new 6-digit code from your authenticator app:
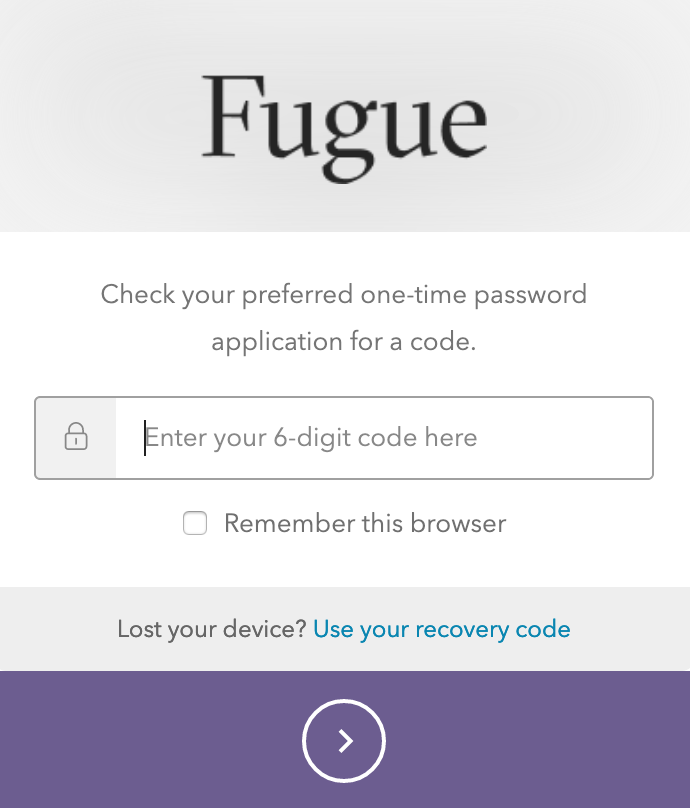
You can select “Remember this browser” in order to skip this step in future logins. Tenants may optionally require users to enter a OTP on every login, in which case the checkbox does not appear.
Entering a Recovery Code
If you lose access to your authenticator app or device, you can enter the recovery code Fugue gave you when you set up MFA. Select “Use your recovery code”:
Enter your recovery code on the next screen:
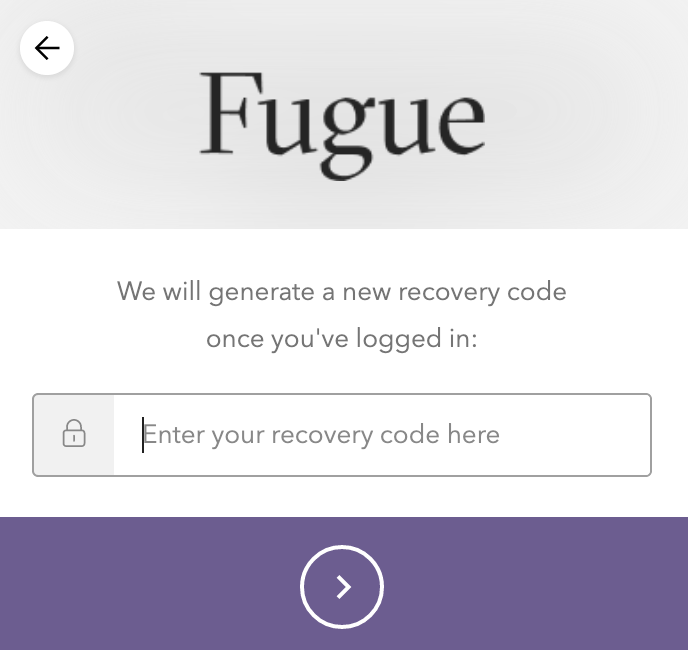
Fugue generates a new code for you after your code is accepted.