Tutorial: Hello World AWS, API (curl)
Note
This API walkthrough uses curl as the API client. If you’d rather use Postman, see this tutorial.
For more info about the API, see the API User Guide or API Reference.
For a deep dive into setup information, see Setup - AWS & AWS GovCloud, Setup - Azure & Azure Government, or Setup - Google Cloud.
Getting started
Ready to create your very first Fugue environment, using curl and the Fugue API? An environment represents the cloud infrastructure configuration in your cloud provider account – in this case, Amazon Web Services (AWS). Fugue surveys the resources in the environment and reports whether they are compliant with a particular compliance standard. For this example, that’ll be CIS AWS Foundations Benchmark (CIS AWS (v1.2.0)), PCI DSS (v3.2.1), and the Fugue Best Practices Framework (FBP).
Note
You can select any supported compliance standard if you have an paid plan or Enterprise trial account. The Fugue Developer tier is limited to CIS Benchmarks, FBP, and custom rules.
Prerequisites
Before you start this tutorial, make sure you have the following:
A Fugue account (see instructions here)
curl, to connect to the Fugue API
The AWS CLI, to create an AWS Identity & Access Management (IAM) role
jq, to process JSON responses from the API
Sign up for Fugue
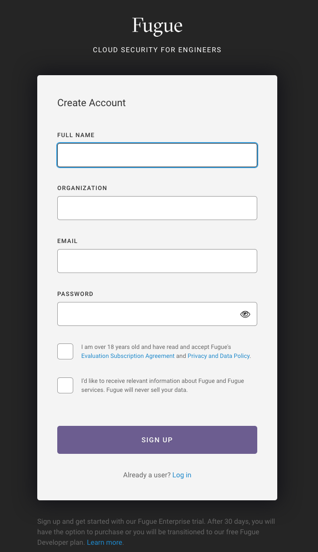
Before you can create an environment, you’ll need to sign up for a free account with Fugue. (You’ll start off with a free Enterprise trial, which gives you access to all of Fugue’s features; after 30 days, you’ll be transitioned to the free-forever Developer plan if you choose not to upgrade.)
Create API Client ID and Secret
In order to connect to the Fugue API, you’ll need a client ID and secret. This step needs to be done through the Fugue UI.
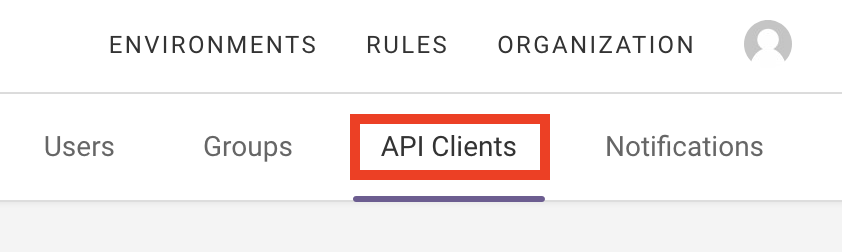
1. Navigate to the API Clients page in Fugue, accessible from the Organization link at the top right of the UI:
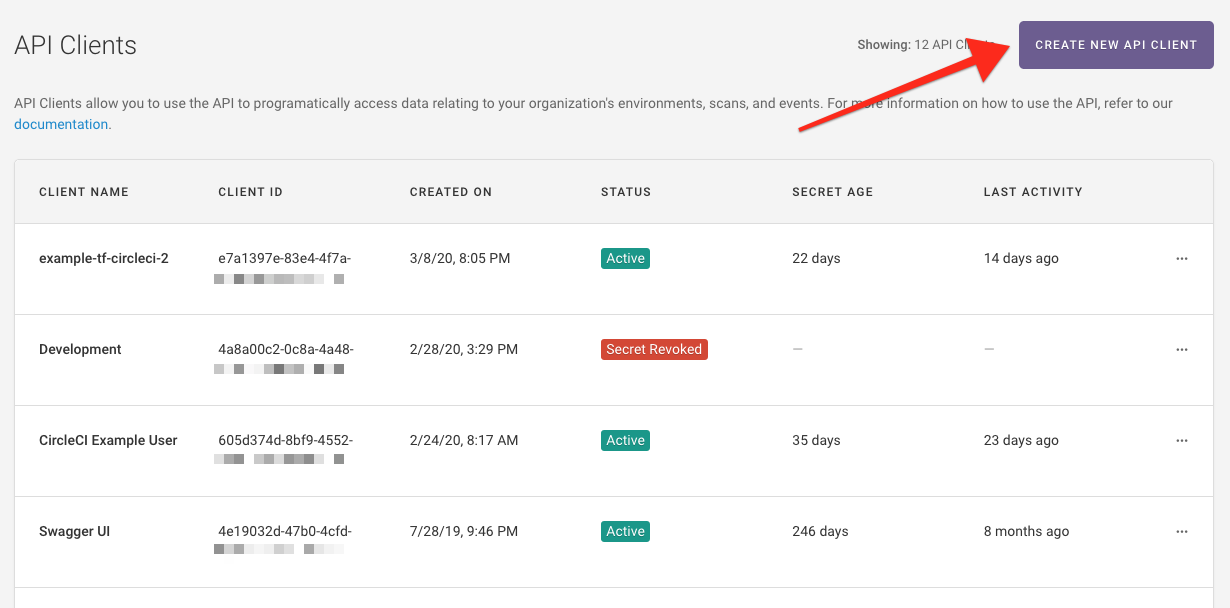
2. Select the Create New API Client button:
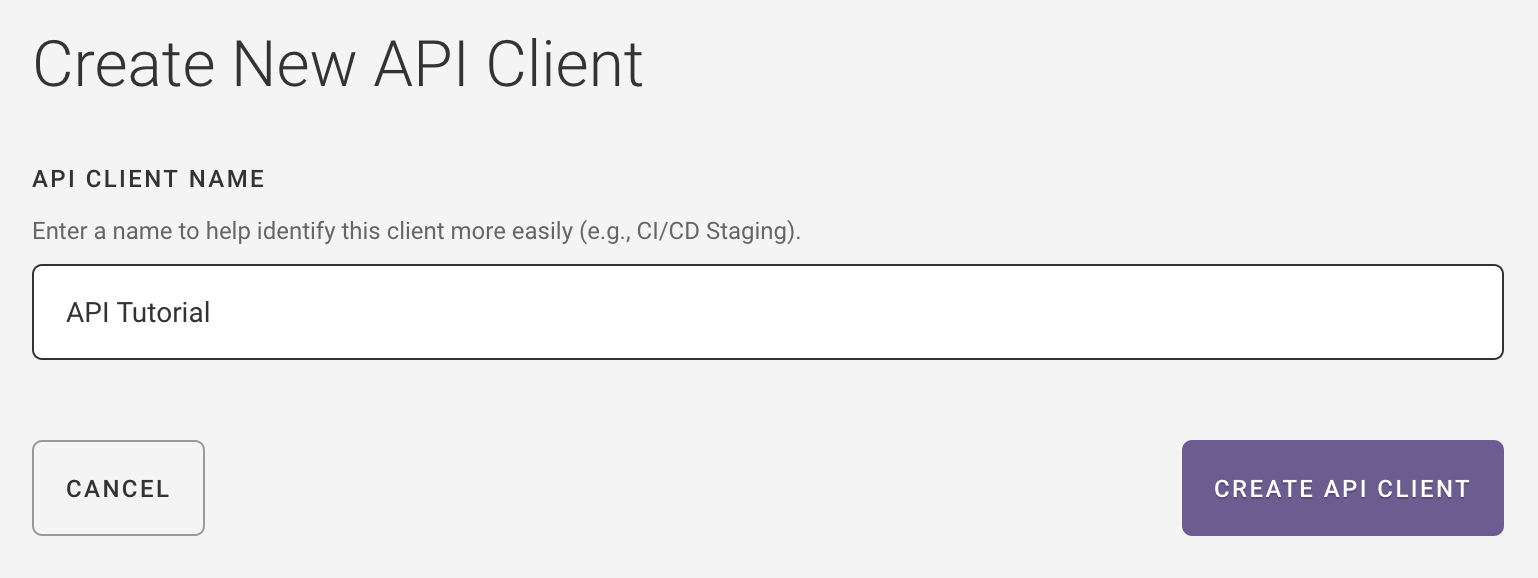
3. Enter a name for your API client. We’ve used “API Tutorial”:
4. You’ll see a confirmation message that your client was created. Copy the client ID and secret. You can only view the secret once, so if you close the dialog, it’s gone. (Don’t close the dialog yet! You need it for step 5.)

Note
Oops! Did you forget to copy the secret? No sweat – you can revoke the secret and generate a new one.
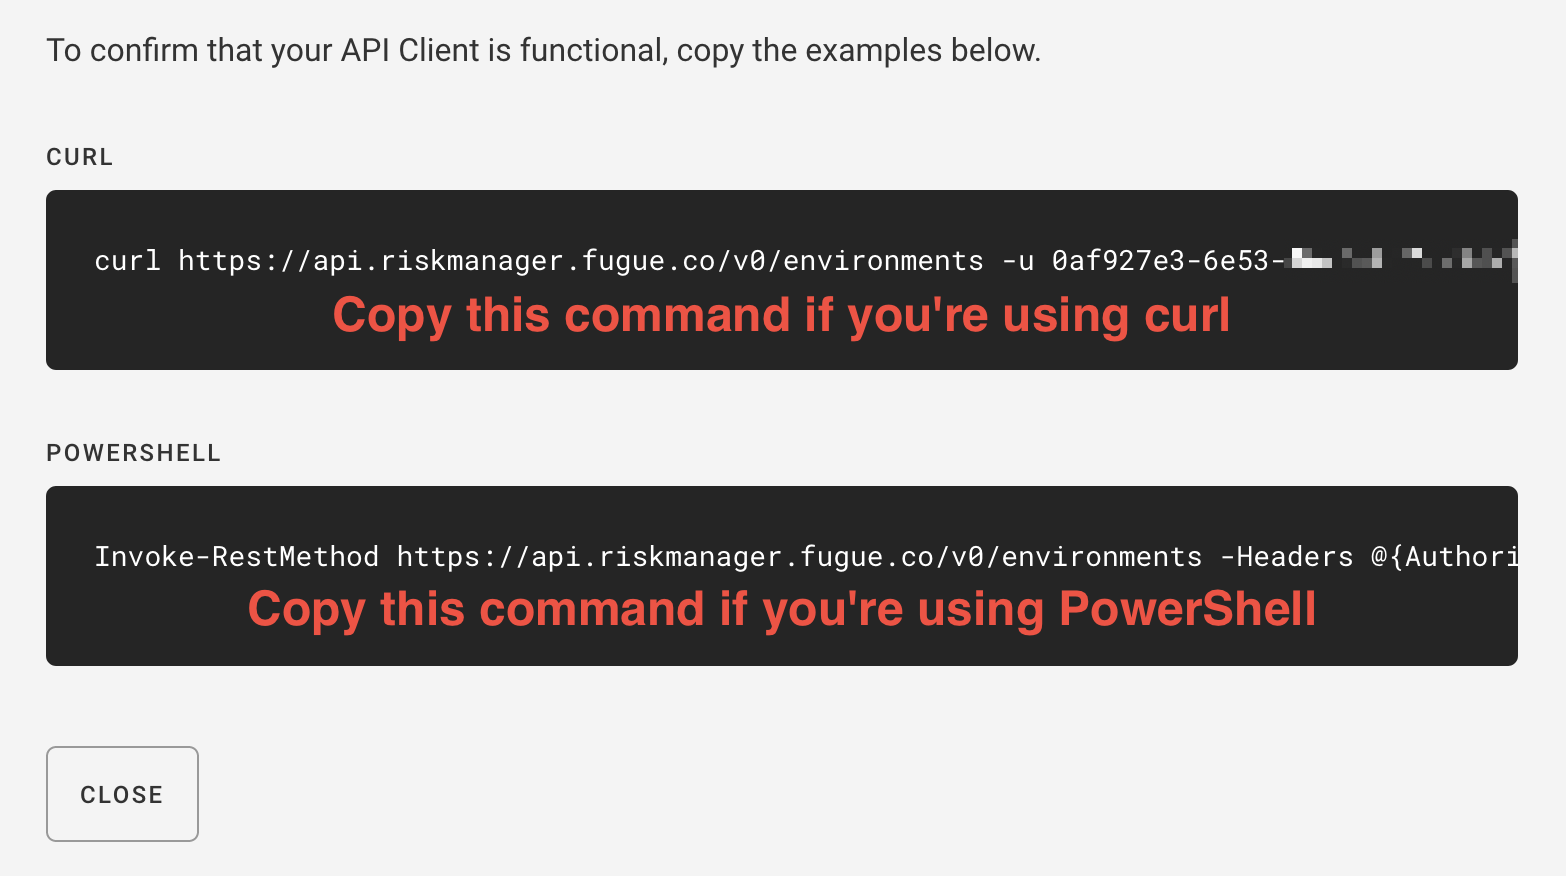
5. Below that, you’ll see an example curl and Powershell command. The command tests whether your client is functional by retrieving a list of details for all your Fugue environments. Copy the curl command from the dialog and run it:
You should see a JSON list of environments, if you have any, or this output if you don’t:
{"items":[],"count":0,"is_truncated":false,"next_offset":null}
Set Environment Variables
The next step is to set your client ID and secret as environment variables:
export FUGUE_CLIENT_ID=your_client_id_here
export FUGUE_CLIENT_SECRET=your_client_secret_here
This allows you to make requests to the Fugue API without having to type in your client ID and secret each time.
Select Resource Types
Now that we’ve set up the environment variables, it’s time to select the resource types we want Fugue to scan.
For this example, we’re going to give Fugue read-only permission to scan the following resource types in us-east-1:
AWS.CloudTrail.Trail
AWS.DynamoDB.Table
AWS.EC2.FlowLog
AWS.EC2.SecurityGroup
AWS.EC2.Vpc
AWS.IAM.Policy
AWS.KMS.Key
AWS.S3.Bucket
AWS.S3.BucketPolicy
AWS.S3.BucketPublicAccessBlock
If this list looks good to you, jump ahead to the next step, generating the IAM policy.
We encourage you to customize the list however you like, though! You can see a list of supported AWS resource types by sending a request to the /metadata/{provider}/resource_types endpoint:
curl -X GET 'https://api.riskmanager.fugue.co/v0/metadata/aws/resource_types?region=us-east-1' \
  -u $FUGUE_CLIENT_ID:$FUGUE_CLIENT_SECRET | jq .
Generate IAM Policy
The next step is to generate an IAM policy. In order for Fugue to scan the configuration of your cloud infrastructure, it needs certain read-only IAM permissions. You grant these permissions to Fugue by assigning it an IAM role with a tailored policy.
Note
For more information about how Fugue handles IAM permissions, including a list of all possible permissions, see IAM Policy Permissions.
To generate the policy, we’ll use the POST method to send a list of resource types to the /metadata/{provider}/permissions endpoint.
Copy the JSON body below and save it as body.json:
{
    "survey_resource_types": [
        "AWS.CloudTrail.Trail",
        "AWS.DynamoDB.Table",
        "AWS.EC2.FlowLog",
        "AWS.EC2.SecurityGroup",
        "AWS.EC2.Vpc",
        "AWS.IAM.Policy",
        "AWS.KMS.Key",
        "AWS.S3.Bucket",
        "AWS.S3.BucketPolicy",
        "AWS.S3.BucketPublicAccessBlock"
    ]
}
Execute the following command, which does the following:
Retrieves the permissions needed to scan the above resource types
Parses it with jq
Redirects the output to
fugue-policy-output.json
curl -X POST 'https://api.riskmanager.fugue.co/v0/metadata/aws/permissions' \
  -u $FUGUE_CLIENT_ID:$FUGUE_CLIENT_SECRET \
  -d '@body.json' | jq . > fugue-policy-output.json
If you cat fugue-policy-output.json, you’ll see an IAM role policy and role trust policy. In the next step, we’ll use the data to create a role and policy via the AWS CLI.
Create Role via AWS CLI
We’ll use the AWS CLI to create a role with a trust policy, and then attach an inline policy. jq will save us a step by allowing us to extract the appropriate policy from fugue-policy-output.json – which, by the way, should look like this:
{
    "aws": {
        "policy": {
            "Statement": [
                {
                    "Action": [
                        "cloudtrail:DescribeTrails",
                        "cloudtrail:GetEventSelectors",
                        "cloudtrail:GetTrailStatus",
                        "cloudtrail:ListTags",
                        "dynamodb:DescribeContinuousBackups",
                        "dynamodb:DescribeTable",
                        "dynamodb:DescribeTimeToLive",
                        "dynamodb:ListTables",
                        "dynamodb:ListTagsOfResource",
                        "ec2:DescribeFlowLogs",
                        "ec2:DescribeNetworkAcls",
                        "ec2:DescribeRouteTables",
                        "ec2:DescribeSecurityGroups",
                        "ec2:DescribeVpcAttribute",
                        "ec2:DescribeVpcClassicLink",
                        "ec2:DescribeVpcClassicLinkDnsSupport",
                        "ec2:DescribeVpcs",
                        "iam:GetPolicy",
                        "iam:GetPolicyVersion",
                        "iam:ListPolicies",
                        "kms:DescribeKey",
                        "kms:GetKeyPolicy",
                        "kms:GetKeyRotationStatus",
                        "kms:ListKeys",
                        "kms:ListResourceTags",
                        "s3:GetAccelerateConfiguration",
                        "s3:GetBucketACL",
                        "s3:GetBucketCors",
                        "s3:GetBucketLocation",
                        "s3:GetBucketLogging",
                        "s3:GetBucketObjectLockConfiguration",
                        "s3:GetBucketPolicy",
                        "s3:GetBucketPublicAccessBlock",
                        "s3:GetBucketRequestPayment",
                        "s3:GetBucketTagging",
                        "s3:GetBucketVersioning",
                        "s3:GetBucketWebsite",
                        "s3:GetEncryptionConfiguration",
                        "s3:GetLifecycleConfiguration",
                        "s3:GetReplicationConfiguration",
                        "s3:ListAllMyBuckets",
                        "s3:ListBucket"
                    ],
                    "Effect": "Allow",
                    "Resource": "*",
                    "Sid": "0"
                }
            ],
            "Version": "2012-10-17"
        },
        "trust_relationship": {
            "Statement": [
                {
                    "Action": "sts:AssumeRole",
                    "Condition": {
                        "StringEquals": {
                            "sts:ExternalId": "1234567812345678123456781234567812345678123456781234567812345678"
                        }
                    },
                    "Effect": "Allow",
                    "Principal": {
                        "AWS": "arn:aws:iam::370134896156:role/generate-credentials"
                    }
                }
            ],
            "Version": "2012-10-17"
        }
    }
}
The JSON document contains two fields we need to extract, trust_relationship (the trust policy allowing Fugue to assume the role) and policy (the IAM permissions needed for the Fugue role).
First, we’ll use jq to pull out the trust_relationship field, then we’ll pass it to the AWS CLI so it can create an IAM role named FugueRole:
jq '.aws.trust_relationship' fugue-policy-output.json | \
  aws iam create-role --role-name FugueRole \
  --assume-role-policy-document file:///dev/stdin
You should see JSON output detailing the new role.
Next, pull out the policy field and pass it to the AWS CLI so it can attach it to the role:
jq '.aws.policy' fugue-policy-output.json | \
  aws iam put-role-policy --role-name FugueRole \
  --policy-name FugueRolePolicy \
  --policy-document file:///dev/stdin
This command produces no output.
Finally, grab the ARN of the role:
aws iam get-role --role-name FugueRole | jq '.Role.Arn'
You should see output like this:
"arn:aws:iam::123456789012:role/FugueRole"
Copy it down, because we’ll need the ARN in the next step, where we’ll assemble the request body.
Assemble Request Body
Next, we’ll put together a request body specifying how we want our environment to be configured. For this example, we’re going to use the following specs:
- Name
Example API
- Provider
AWS
- Regions
us-east-1
- Role ARN
Obtained in previous step (if you forgot to copy it, run
aws iam get-role --role-name FugueRole | jq '.Role.Arn')- Compliance families
CIS AWS (v1.2.0), PCI DSS (v3.2.1), FBP
- Scanned (surveyed) resource types
As shown in Generate IAM Policy
We’ll be using the POST /environments endpoint to send the request in the next step, so you can find the request body schema here in the API Reference. After we fill it out with our specs above, it looks like this:
{
    "name": "Example API",
    "provider": "aws",
    "provider_options": {
        "aws": {
            "regions": [
                "us-east-1"
            ],
            "role_arn": "arn:aws:iam::123456789012:role/FugueRole"
        }
    },
    "compliance_families": [
        "CIS-AWS_v1.2.0",
        "PCI-DSS_v3.2.1",
        "FBP"
    ],
    "survey_resource_types": [
        "AWS.CloudTrail.Trail",
        "AWS.DynamoDB.Table",
        "AWS.EC2.FlowLog",
        "AWS.EC2.SecurityGroup",
        "AWS.EC2.Vpc",
        "AWS.IAM.Policy",
        "AWS.KMS.Key",
        "AWS.S3.Bucket",
        "AWS.S3.BucketPolicy",
        "AWS.S3.BucketPublicAccessBlock"
    ]
}
Tip
Want to customize your environment? See a list of fields and accepted values in the API Reference.
Now that we’ve assembled the request body, the only step left is to send the request to create the environment!
Send Request to Create Environment
We’re in the home stretch! In this step, we’ll send a POST request to the /environments endpoint to create the environment.
First, save the request body from the previous step as env-body.json.
Then, execute the following command, which sends a request to create an environment using the specs in env-body.json:
curl -X POST 'https://api.riskmanager.fugue.co/v0/environments' \
  -u $FUGUE_CLIENT_ID:$FUGUE_CLIENT_SECRET \
  -d '@env-body.json' | jq .
You should see JSON output with details about your new environment, as Fugue creates and begins scanning it.
Congrats! You’ve just created your first environment, all via the Fugue API.
What’s Next?
Fugue will continue to scan the resource configuration in your environment at regular intervals (and on demand). This is how Fugue detects compliance violations in your infrastructure.
Here some other API requests you might be interested in:
Further Reading
For more information about the API, see the API User Guide or API Reference (Swagger spec).